
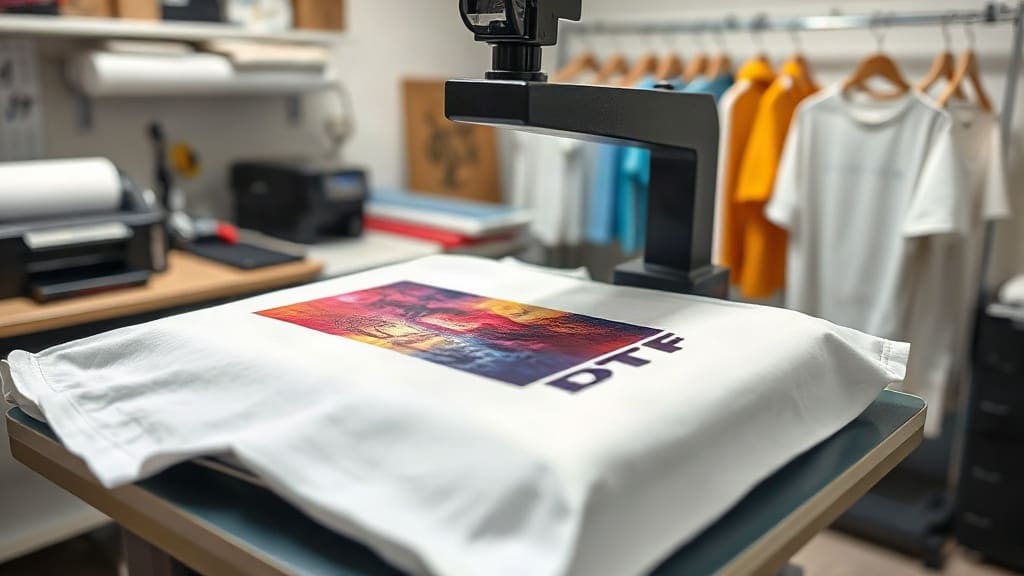
When it comes to creating custom apparel that stands out, DTF transfers have become a game-changer for both small businesses and DIY enthusiasts. Unlike traditional methods that require multiple steps and specialized equipment, DTF transfers offer a streamlined way to produce vibrant, full-color designs on a variety of fabrics. In this guide, we'll explore what DTF transfers are, why they're gaining popularity, and how you can use them to elevate your custom clothing projects.
What Are DTF Transfers?
DTF stands for Direct to Film. It's a printing technology where your design is printed onto a special film, coated with a adhesive powder, and then heat-pressed onto the fabric. The result is a soft, flexible, and durable print that can handle intricate details and gradients. Unlike DTG (Direct to Garment) printing, which requires pre-treatment and works best on cotton, DTF transfers can be applied to a wide range of materials, including polyester, blends, and even nylon.
Why Choose DTF Transfers?
There are several reasons why DTF transfers have become a favorite among crafters and apparel decorators. Here are the key benefits:
- Versatility: DTF transfers work on almost any fabric, including dark and light colors, without the need for pre-treatment.
- Durability: The prints are stretchable and resistant to cracking, peeling, and fading, even after multiple washes.
- Vibrant Colors: DTF transfers produce bright, opaque colors, making them ideal for complex designs with gradients and fine details.
- Cost-Effective: No need for expensive equipment like screens or plates; a single heat press is all you need.
- Ease of Use: The process is straightforward, making it accessible for beginners and professionals alike.
How to Apply DTF Transfers: Step-by-Step
Applying DTF transfers is a straightforward process, but following the correct steps ensures a professional finish. Here's what you need to do:
- Prepare Your Workspace: Set up your heat press on a stable surface. Preheat it to the recommended temperature, usually between 300°F and 350°F (150°C to 175°C).
- Pre-Press the Garment: Place your garment on the heat press and press for a few seconds to remove moisture and wrinkles. This helps the transfer adhere better.
- Position the Transfer: Place the DTF transfer film on the garment with the printed side facing up. Ensure it's exactly where you want it.
- Heat Press: Cover the transfer with a Teflon sheet or parchment paper. Press with medium to firm pressure for 10-15 seconds.
- Peel the Film: Allow the transfer to cool completely before peeling off the film. You can do a cold peel or warm peel depending on the film type; check the manufacturer's instructions.
- Post-Press (Optional): For added durability, you can press the design again for a few seconds after peeling.
Tips for Perfect DTF Transfers
To get the best results with DTF transfers, keep these tips in mind:
- Test Your Settings: Every heat press is different. Experiment with temperature, pressure, and time on a scrap piece of fabric before working on the final garment.
- Use Quality Materials: Invest in high-quality DTF films and powders from reputable suppliers to ensure vibrant and long-lasting prints.
- Store Properly: Keep unused DTF transfers in a cool, dry place away from direct sunlight to prevent them from drying out or becoming sticky.
- Wash Inside Out: To prolong the life of your DTF-printed apparel, wash them inside out in cold water and avoid harsh detergents.
Common Applications of DTF Transfers
DTF transfers are incredibly versatile and can be used for a wide range of applications:
- Custom T-Shirts: Create personalized tees for events, teams, or businesses.
- Sportswear: Add numbers and names to jerseys and uniforms with flexibility.
- Promotional Items: Brand tote bags, hoodies, and caps for marketing purposes.
- Home Decor: Personalize pillows, aprons, and other fabric items.
DTF Transfers vs. Other Printing Methods
How do DTF transfers compare to other popular printing methods? Here's a quick breakdown:
- DTF vs. DTG: DTG requires pre-treatment and works best on 100% cotton, while DTF works on almost any fabric with no pre-treatment.
- DTF vs. Vinyl: Vinyl is limited to simple designs and single colors, whereas DTF can handle complex, multi-color designs with gradients.
- DTF vs. Screen Printing: Screen printing is cost-effective for large orders but requires setup and is not ideal for small batches. DTF is perfect for small to medium runs and on-demand printing.
Frequently Asked Questions About DTF Transfers
How long do DTF transfers last?
With proper application and care, DTF transfers can last as long as the garment itself. They are durable and resistant to cracking and fading, even after 50+ washes.
Can I use DTF transfers on dark fabrics?
Absolutely! DTF transfers include a white ink layer that makes colors pop on dark fabrics. You don't need any special pre-treatment.
What equipment do I need for DTF transfers?
You only need a heat press and a DTF printer if you're printing your own transfers. However, you can also buy pre-printed DTF transfers from suppliers and just use a heat press to apply them.
Are DTF transfers stretchable?
Yes, DTF transfers are stretchable and flexible, making them ideal for athletic wear and fabrics that require movement.
Do I need to pre-treat the fabric before applying DTF transfers?
No pre-treatment is required. Simply pre-press the garment to remove moisture and wrinkles, then apply the transfer.
Conclusion
DTF transfers have revolutionized the custom apparel industry by offering a versatile, durable, and cost-effective solution for printing on a wide range of fabrics. Whether you're a small business owner looking to expand your product line or a DIY enthusiast wanting to create personalized gifts, mastering DTF transfers can open up a world of creative possibilities. With the right techniques and a bit of practice, you'll be producing professional-quality custom apparel in no time.