
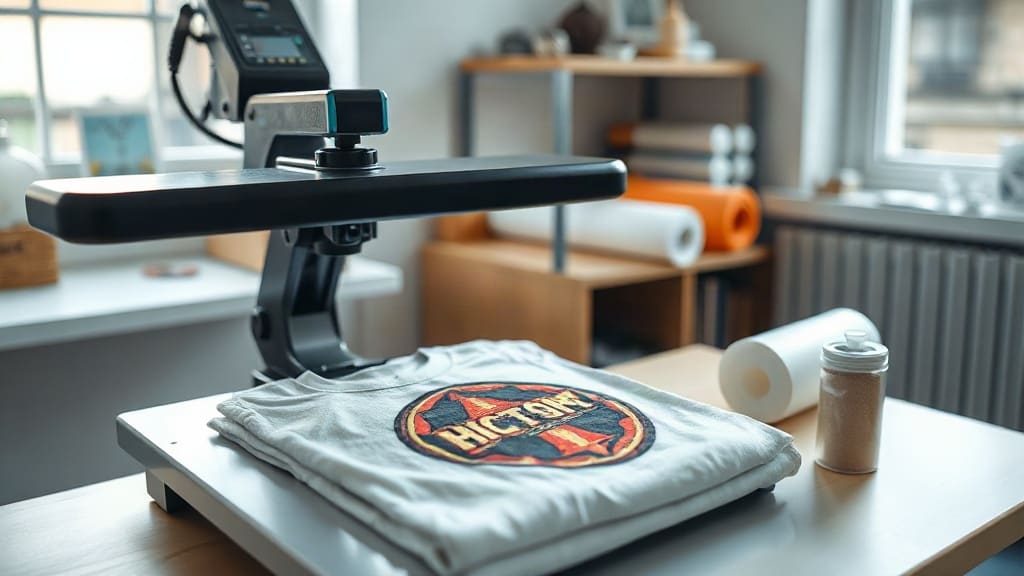
When a customer walks in with a phone screenshot of a watercolor pet portrait and asks if it can go on a cotton hoodie by Friday, most decoration methods force a compromise. Screen printing needs color separations and minimums. Vinyl can't handle gradients. That's exactly the gap DTF transfers fill, and it's why so many small print shops have added a DTF printer next to their heat press in the last few years. Direct-to-film printing lets you produce a full-color, photographic-quality transfer in minutes, press it onto almost any fabric, and skip the setup costs that make short runs painful. This guide walks through how the process actually works, what equipment and materials you need, and the mistakes that quietly ruin prints.
What Are DTF Transfers?
A DTF transfer is a printed image on a special PET film that gets coated with hot-melt adhesive powder, cured, and then heat pressed onto a garment. The design is printed in reverse onto the film using a DTF printer loaded with pigment inks and a white ink channel. After printing, the wet ink is dusted with adhesive powder, shaken to remove excess, and cured in an oven or with a heat gun until the powder melts into a gel layer.
That gelled powder becomes the glue. When you press the film onto fabric, the adhesive bonds with the fibers while the ink sits on top. Once the film cools, you peel it away and the design stays behind. The result is a soft, stretchy print with vibrant color and a white underbase already built in, which is the part that makes DTF genuinely different from older transfer methods.
How It Differs from DTG and Vinyl
Direct-to-garment printing applies ink straight onto the shirt, which means the fabric has to be pretreated and the garment has to sit on a platen inside the printer. DTF flips that: you print on film, then press. That separation is the whole advantage. You can print a batch of transfers on Monday and press them onto shirts whenever orders come in, with no pretreatment and no garment-specific setup.
Heat transfer vinyl, by contrast, is cut from solid colored sheets. It handles text and simple shapes beautifully but falls apart on photographs, gradients, and fine detail. DTF transfers print those without any extra work.
The DTF Workflow, Step by Step
- Prepare the artwork. Mirror the design horizontally before printing. Check that your file has a transparent background and that any white areas you want printed are actually white ink, not empty space.
- Print on film. Load DTF film into the printer with the coated side facing the printhead. Most printers lay down color first, then a layer of white ink behind it.
- Apply adhesive powder. While the ink is still wet, sprinkle hot-melt powder evenly across the print. A powder shaker makes this far more consistent than doing it by hand.
- Cure the powder. Run the film through a curing oven at the temperature your powder manufacturer specifies, usually somewhere in the 160 to 170 degrees Celsius range for a short dwell time. The powder should turn from matte to slightly glossy.
- Press onto the garment. Set your heat press to the recommended temperature, typically around 150 to 160 degrees Celsius, with medium pressure for 10 to 15 seconds.
- Peel and finish. Let the transfer cool, then peel the film away. For extra durability on stretchy fabrics, a second short press with a cover sheet helps the print settle into the weave.
Timing matters more than most beginners expect. Press too hot and the film can warp or the adhesive can over-cure and lose tack. Press too cool and the powder never fully bonds, which shows up later as cracking after a few washes.
What You Need to Get Started
The startup list is shorter than most people assume, but the quality of each item matters.
- A DTF printer. Entry-level desktop models handle small runs. If you plan to sell, look at printers with a reliable white ink circulation system, since white ink settling is the single most common maintenance headache.
- DTF film. Cold-peel and hot-peel films behave differently. Cold peel is generally more forgiving for beginners.
- Hot-melt adhesive powder. Match the powder to your fabric type. Standard powders work on cotton and blends, while stretch-focused powders perform better on spandex-heavy garments.
- A curing oven or heat gun. Ovens give consistent results across a full sheet.
- A heat press. A swing-away press with even pressure is worth the investment over a clamshell for DTF work.
- Ink. Pigment inks formulated for DTF, not generic sublimation or eco-solvent inks.
Fabric Compatibility and Real-World Limits
This is where DTF transfers earn their reputation. Cotton, polyester, blends, canvas, denim, nylon, and even leather-look materials all accept DTF well. Because the adhesive bonds to the fabric surface rather than relying on the fabric to absorb ink, the range is genuinely wide.
There are limits worth knowing. Highly textured fabrics like ribbed knits or terry cloth can let the print sit unevenly, and very stretchy activewear needs a stretch-formulated powder to avoid cracking at the seams. Waterproof and heavily coated fabrics often reject the adhesive entirely. Testing on a scrap piece before committing to a full order is not optional; it's how you avoid angry customers.
Wash Durability
A properly pressed DTF print typically survives dozens of wash cycles when cared for correctly. Turn garments inside out, wash cold, and skip the dryer or use low heat. The adhesive is the weak point, not the ink, so heat and abrasion are what shorten a print's life.
Costs, Pricing, and When DTF Makes Sense
The economics shift depending on volume. For one-off shirts, DTF is often the cheapest full-color option because there's no screen setup and no minimum order. At high volumes, screen printing still wins on cost per unit. The sweet spot for DTF is usually runs of one to a few dozen pieces, especially when designs vary between garments.
Material costs break down into film, ink, and powder. Powder is often the line item people underestimate, since a shaker that wastes powder quietly eats into margins. Buying film and powder in bulk once you know your monthly volume is one of the easiest ways to improve profitability.
Common Mistakes and How to Avoid Them
- Under-curing the powder. If the powder still looks chalky after curing, it isn't ready. It should look slightly melted and uniform.
- Too much powder. Excess powder creates a stiff, plastic feel and can leave a halo around the design edges.
- Pressing with dirty cover sheets. Ink transfers onto the sheet and then back onto the next garment, leaving ghost marks.
- Ignoring white ink circulation. Skipping daily agitation leads to clogged nozzles and expensive printhead replacements.
- Peeling too early or too late. Follow the film's instructions exactly rather than assuming all films behave the same.
Frequently Asked Questions
Can DTF transfers be applied to dark and light fabrics?
Yes. The white ink layer printed behind the color makes DTF work on both. On light fabrics the white layer is thinner or omitted depending on the design, while dark garments rely on a full white underbase to keep colors bright.
Do I need a special printer for DTF, or can I use a regular inkjet?
You need a printer with a white ink channel and DTF-compatible pigment inks. Standard desktop inkjets lack white ink, so they cannot produce a transfer that shows up on dark garments. Dedicated DTF printers are built for this, including the circulation systems that keep white ink from settling.
How long do unused DTF transfers last?
Stored properly in a cool, dry place away from direct sunlight, printed and powdered transfers generally keep for several months. Humidity is the main enemy; moisture can soften the adhesive layer before it ever reaches a press.
Is DTF more durable than screen printing?
Not inherently. A well-cured screen print on cotton can outlast a DTF print, especially under heavy washing. DTF's advantage is versatility and short-run economics, not raw longevity. For stretchy fabrics and detailed multicolor art, though, DTF often holds up better than vinyl or low-quality transfers.
What temperature should I press DTF transfers at?
Most powders and films call for roughly 150 to 160 degrees Celsius with medium pressure for 10 to 15 seconds. Always follow your specific film and powder manufacturer's guidance, since formulations vary and a few degrees can change the peel behavior.